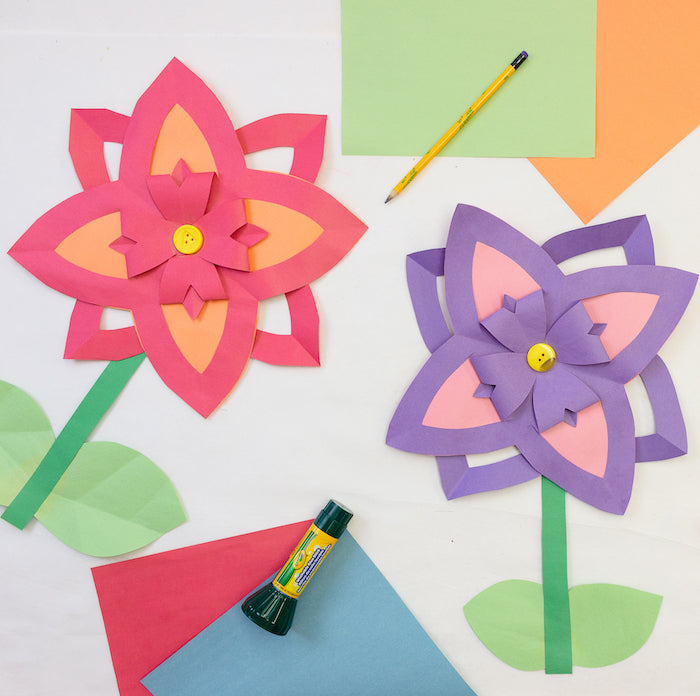
Let's create a paper flower garden! This is a fun craft at home or to make as a classroom! Craft along with the video or follow the written steps and photos below!
Materials:
- Construction Paper in Green
- Construction Paper (2 in same color)
- Construction Paper (1 different color)
- Scissors
- Glue Stick
- Pencil
- Button

Instructions:
1. Take 1 sheet of construction paper, start at the corner and fold all the way to one side to form a triangle. Be sure to crease your paper along the edge.

2. Cut off the excess piece.

3. Take your triangle with the folded side down and fold corner to corner to form an even smaller triangle.
4. Flip your triangle around so that the open side is facing you.

5. Fold your triangle in half again and crease your fold.

6. Make sure that your folded side is on the left.

7. Take your scissors and start at the bottom left point and cut up in a rounded shape. Now cut off a portion of that side. The bottom of your triangle should have a rounded shape

8. Start on the open side of your triangle and move up about an inch. Cut another curved line towards the folded side but stop right before you get to the fold.

9. Repeat this process to match the 2 below and be sure to get almost all the way to the edge and stop. Now we should have 3 flaps.

10. Unfold and you should have a flower shape.

11. Grab your glue stick and place some glue in the center of your flower.
12. Take your middle flaps and fold them towards the center - you will do this to all 4 of your center pieces. Hold your finger in place until it dries.
13. Follow the steps we just did to make a second flower.

14. Set 1 flower aside.
15. Take one flower and line it up corner to corner on a second piece of construction paper. Take your pencil to trace the outline of your flower.

16. Set your flower aside and use your scissors to cut along the lines you just traced.

17. Take your flower and flip it over so the flat side is facing up.
18. Glue the outer edges of your flower and place some glue in the center as well.
19. Use your finger to run it along the edges and make sure the two layers stick together.

20. Take your button and glue it to the center of your flower. Hold in place until it sticks.

21. Glue your 2 flower pieces together. Be sure to turn the bottom one so that the petals are in between each other. Place glue at the center of the bottom flower and place your top flower back on. Hold until dry.

22. Now its time to glue your stem and some leaves. Place some glue at the top of your stem and attach your flower. Press and hold until dry. Repeat with your leaves.

Happy Crafting!
- Lynn