Today I am sharing how easy it is to make Ocean Epoxy Resin Coasters. You can use this same technique with any molds or even an enclosed table top! For this project I have joined forces with Aleene's who has recently launched Clear Casting & Coating Epoxy Resin! It is an amazing product. There is basically no odor, less bubbles and it is crystal clear! Check out my previous projects I made using Aleene's Clear Casting & Coating Epoxy Resin: Press Flower Coasters & Pressed Flower Jewelry Box.
Project Video:
Materials:
- Aleene's Clear Casting and Coating Epoxy Resin
- Safety gear: Mask and gloves
- Acrylic Paint or Opaque Dye or Mica Powder
- Brown or Gold Glitter
- Heat Gun
- Stir Sticks
- Silicone Molds
- Plastic Cups

Directions:
- Mix Epoxy Resin according to package instructions.

- Pour your mixture into a 5 different cups and mix in your colors (using the acrylic paint, micah powder or the opaque dye). 1 color per cup. Don't forget to add your glitter to the brown color for a sandy effect :)

- Start pouring your mixture into your silicone molds. Start with the 2 blues up top, white in the middle, followed by your glittery brown at the very bottom of the mold.

- Apply heat to your molds using your heat gun. Use this technique to break up the water and create an ocean effect and pop air bubbles. Allow 24 - 48 hours to cure.

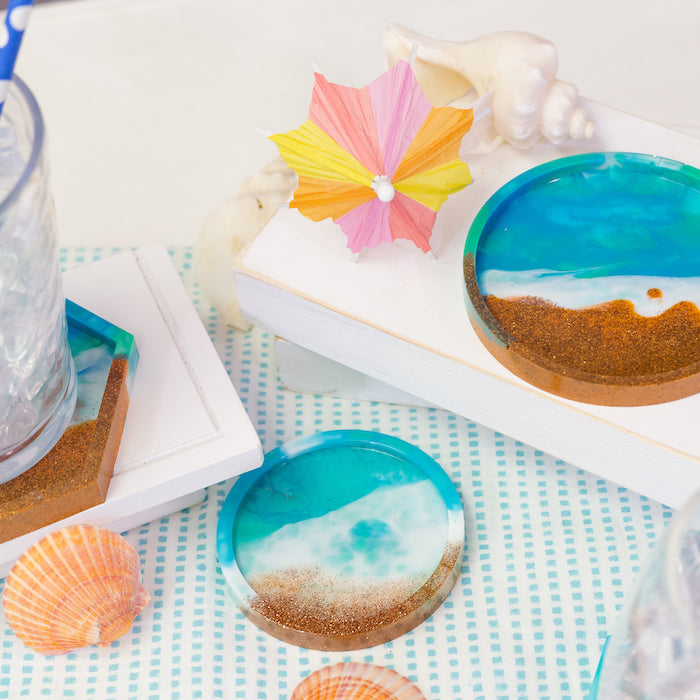
- Peel your molds away and VOILA! Your ocean vibe epoxy resin coasters are ready to use!

I love how these turned out!!! You can purchase the Aleene's Clear Casting & Coating Epox Resin on Aleenes.com along with all their other products!
Happy Crafting!
Lynn :)
This post is sponsored by Aleene's but all thoughts and opinions are my own.
