Fall is here and I am so excited to start decorating. Testors is back with another series of Testors Crafternoons videos! I am hosting two episodes with two of my favorite fall crafts. I am really excited about both of these episodes because I was able to explore a few of their new creative products!
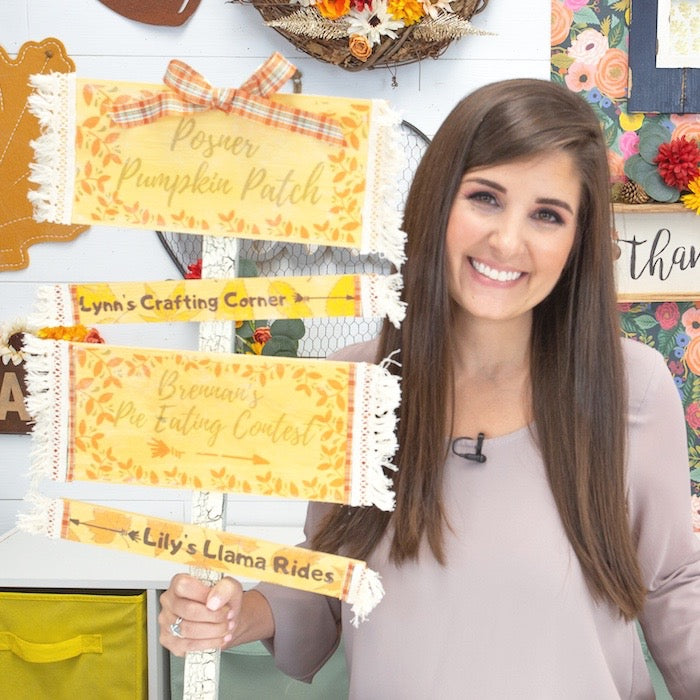
On this week's episode of Testors Crafternoons, I am making a DIY Pumpkin Patch Sign! I love to have personalized decorations for the holidays and this fun sign is perfect for our little family. Rather than trying to perfect my handwriting I created festive designs on my computer and used the Rustoleum Photo Transfer Medium to transfer them to my wood planks. I love how the photo transfer gives you perfect professional designs every time! I was eager to try out the Testors Craft Crackle Kit which worked perfectly on the post!
Watch the video below for the complete project tutorial and tips for working with these new products!
![]()
Materials:
- Testors Craft Crackle Kit
- Rustoleum Photo Transfer
- Testors Craft Metallic Gold Acrylic Paint
- Paint Brush
- Foam Brush
- Wood Stake
- Wood Planks
- Scissor
- Hot Glue Gun & Glue
- Sponge
- Ribbon & Trim (optional)

Directions:
- Paint the planks with the Testors Craft Gold Metallic Paint.

- Create a design on your computer. Make sure when you print it you reverse the design. It will look backwards to you but when you apply the design it will be read properly. You must print it on a laserjet printer. Most home printers are not laser printers. You can print the design on your home printer and take it to a copy store and copy with a laserjet printer.
- Apply the Rust-Oleum Photo Transfer to the design side of the paper.

- Lay the design flat on the plank surface with the design side facing down. Use your fingers to rub out the bubbles and press onto the surface.

- Let the design transfer for at least 12 hours.
- After 12 hours use a water-soaked sponge to rub off the paper backing to reveal the design.


- Next, use the Crackle Kit on the stake. Make sure you are outdoors or in a well-ventilated room and that you carefully follow the instructions. Make sure to let the base coat completely dry before applying the top coast.
- When applying the top coat move slowly and apply generously. You can not go over the design twice.

- You will immediately notice the crackle effect happening!
- Once the stake is completely dry glue the planks on the stake.
- As an added fall decoration I glued trim and ribbon to each plank!


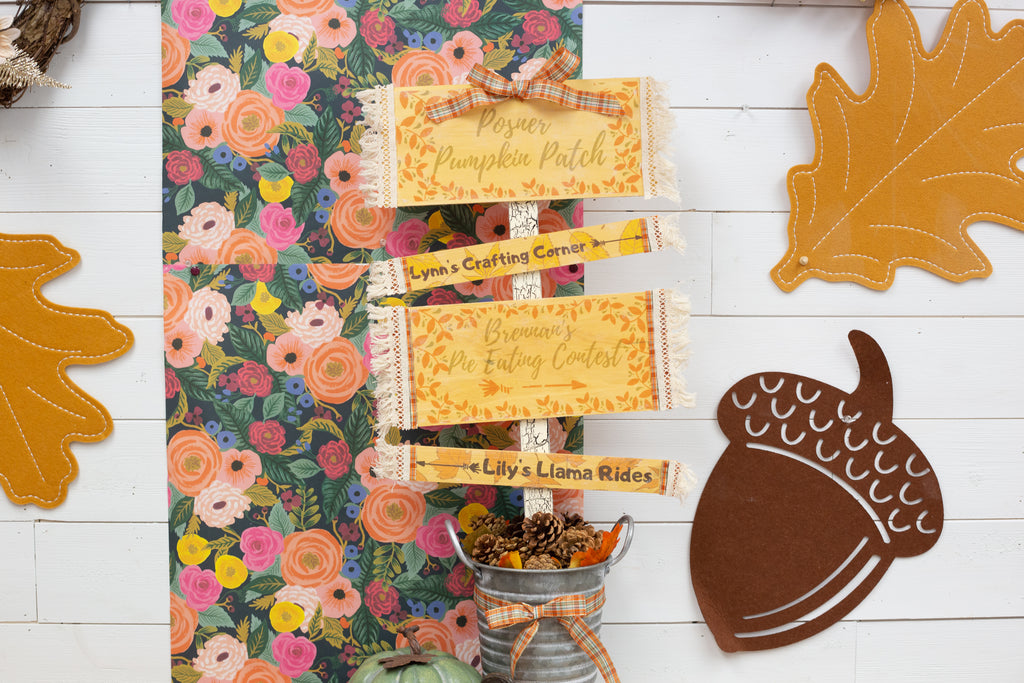
How fun is this sign! You can stake it into your yard or display in a planter indoors!
Testors Craft Acrylics are available at Menards, Amazon.com, Walmart.com, Joann.com and select True Value, Do-It Best and Farm & Fleet stores. Rust-Oleum’s Photo transfer is available at Home Depot. Make sure to follow Testors Craft on Facebook for more episodes of Crafternoons! Next week I am making a Fall Front Door Sign!
xoxo- LL