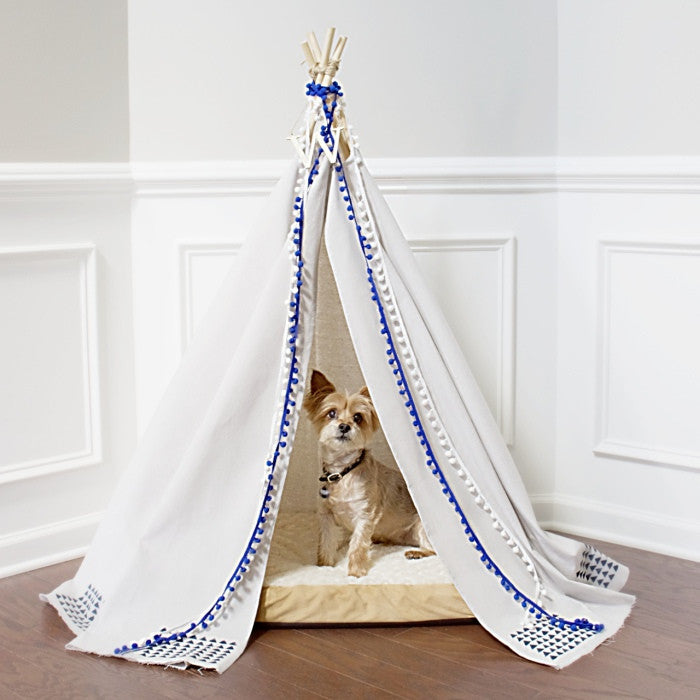
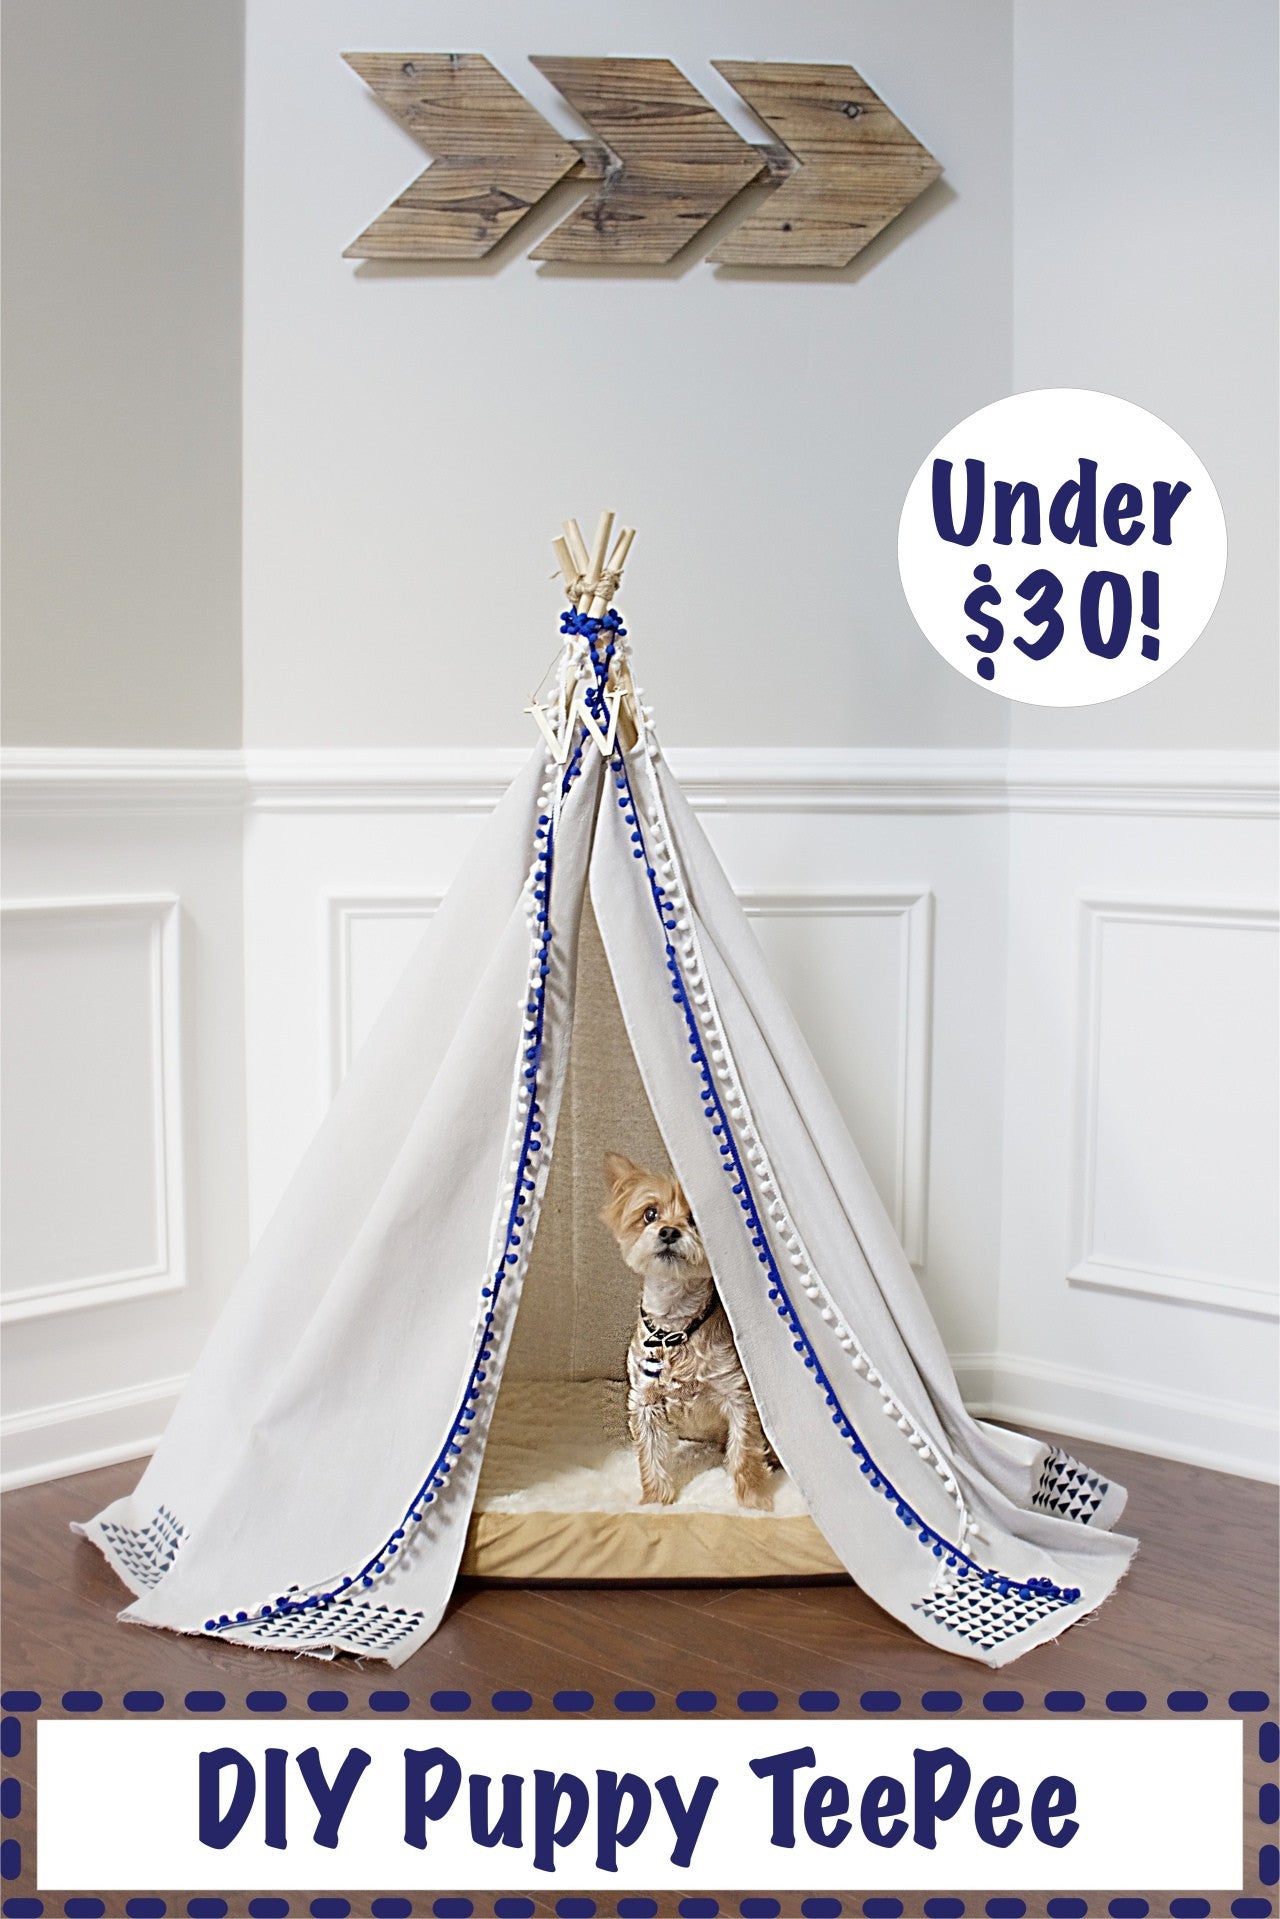
I’ve been wanting to purchase a teepee for my pup Winston for a while now but they are so expensive. So, I decided to make one for under $30! Don't worry, you don’t have to be girl/boy scout or have any survival training to do it!
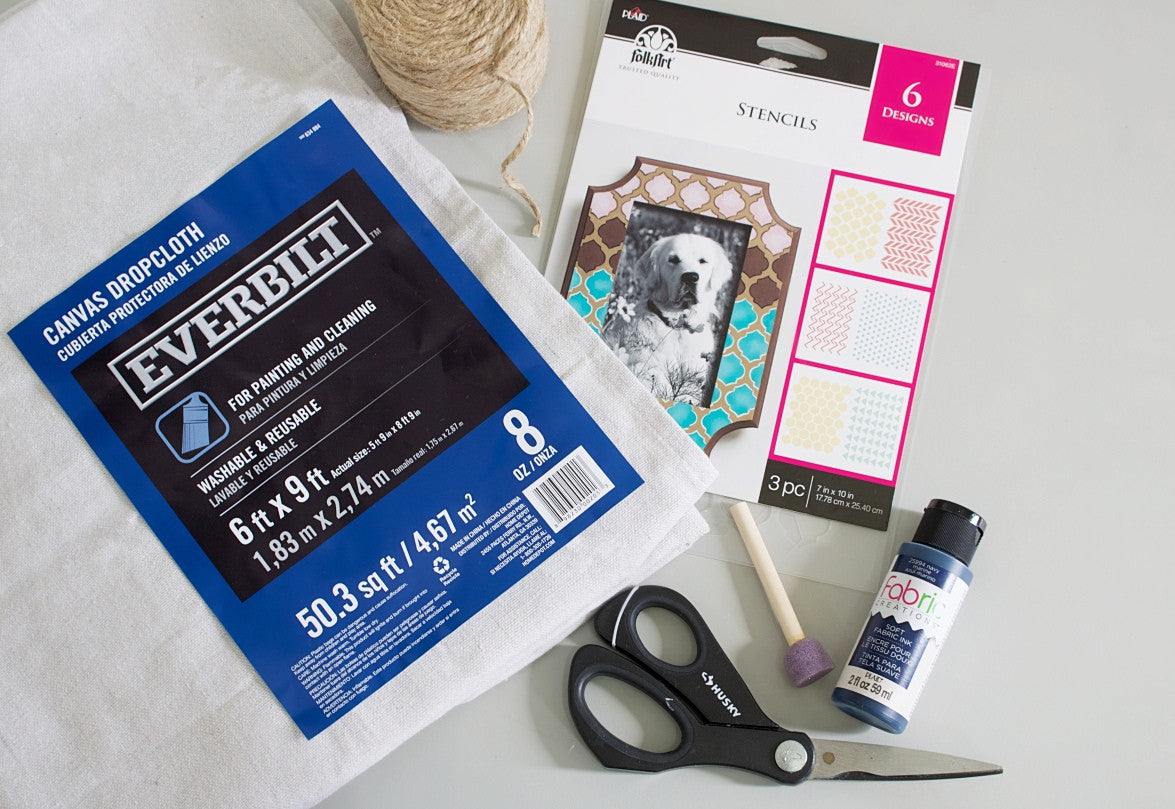
What you'll need:
- Everbuilt 6 x 9 drop cloth ($7)
- 4 – 48” wood dowels ($4)
- Fabric Creations Paint: Navy ($2)
- Plaid Value Pack Stencils ($3)
- Dauber or stencil brush ($2)
- Scissors
- Twine ($3)
- Pencil
- Bobby Pin
- Paper Towels
- Paper Plate
- Optional Embellishments: pom pom strands and wooden letter
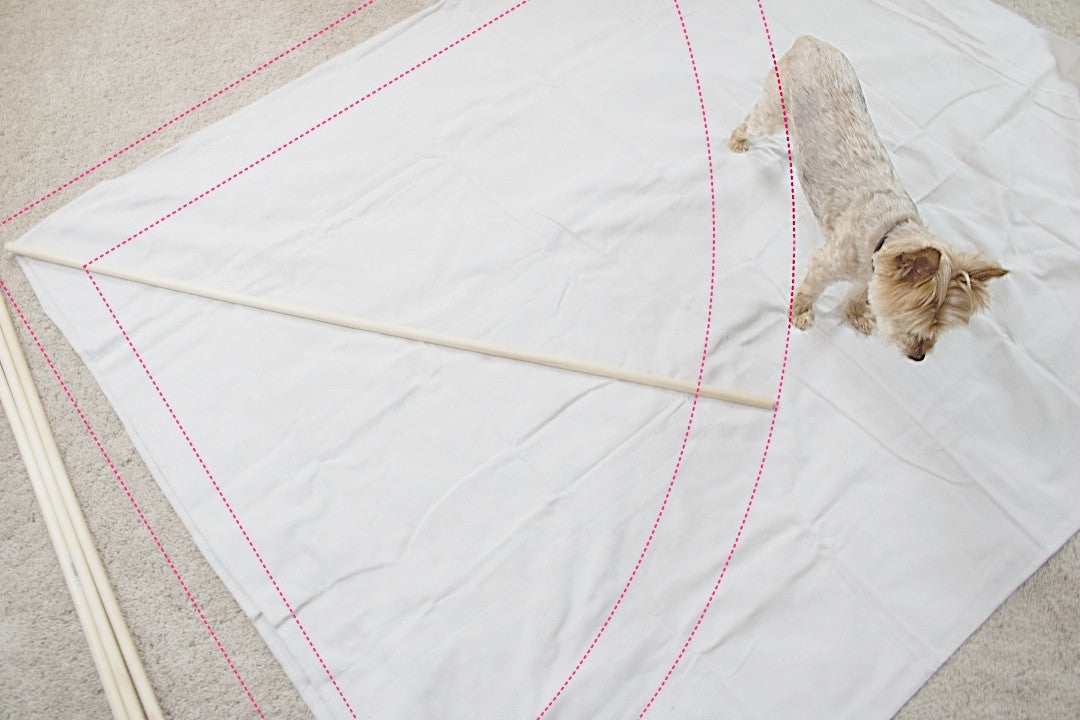
STEP 1:
Fold your drop cloth in half long ways. Take one of your dowels and place it at the corner of your drop cloth and mark where the end meets the fabric with a pencil. Pivot the dowel in a fan shape across the fabric, marking as you go as seen in the diagram below.
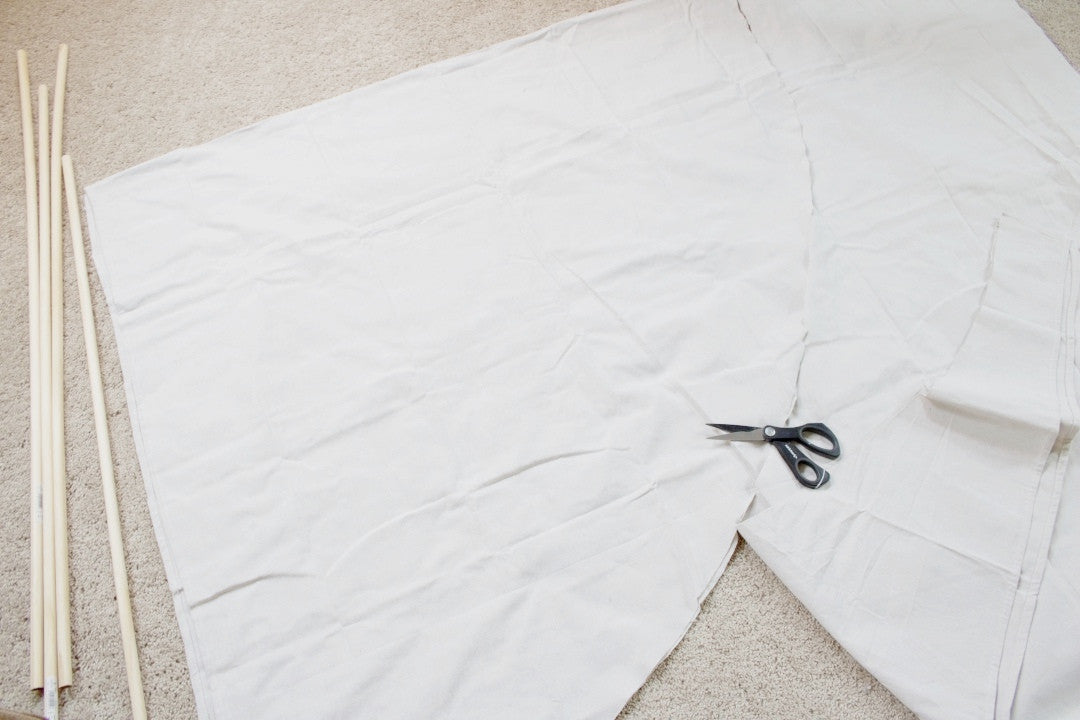
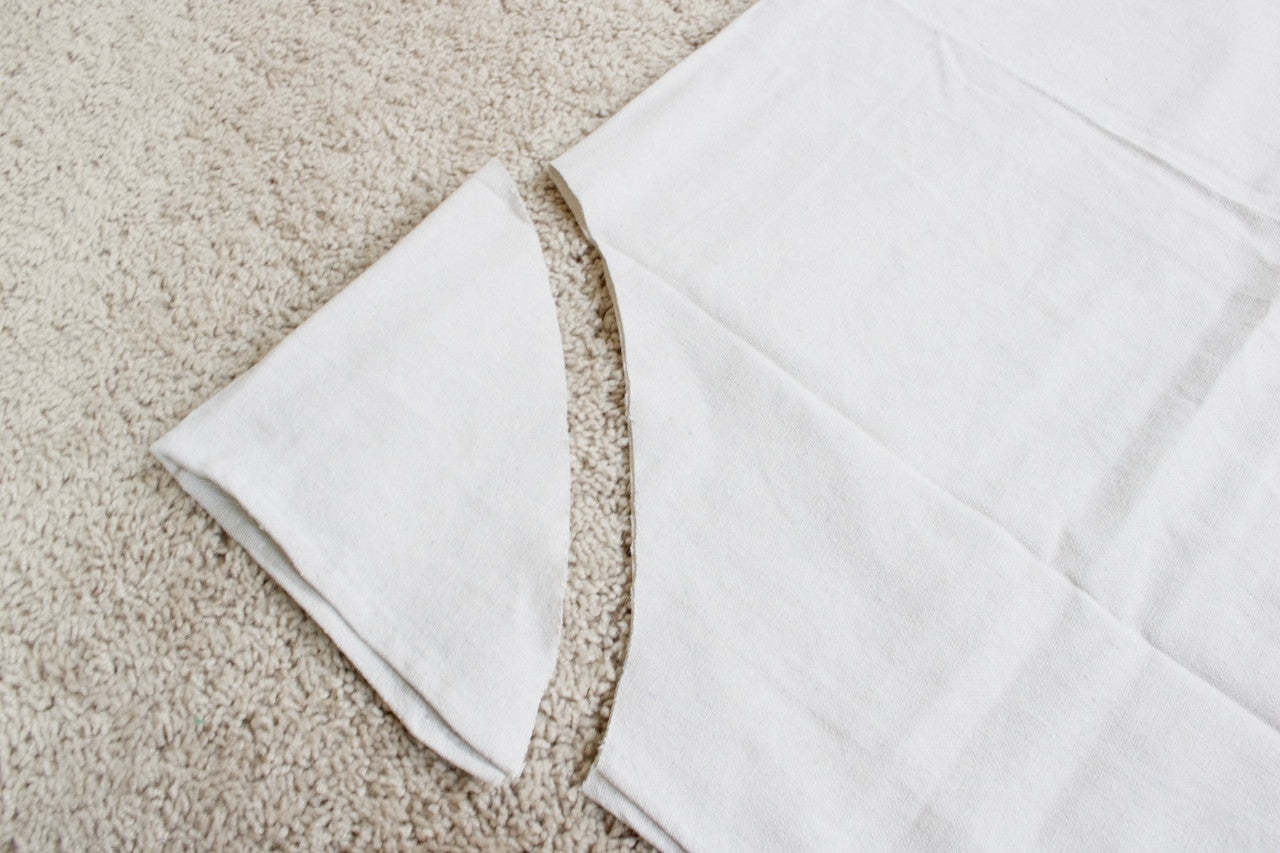
STEP 2:
Next, cut the fabric, making sure to follow the markings to create a classic teepee shape. Also, cut out a small section at the point of the teepee so the dowels can be threaded through.
STEP 3:
At this point, I highly recommend ironing your fabric to get all the wrinkles out. It will make the drop cloth more manageable for the next couple of steps.
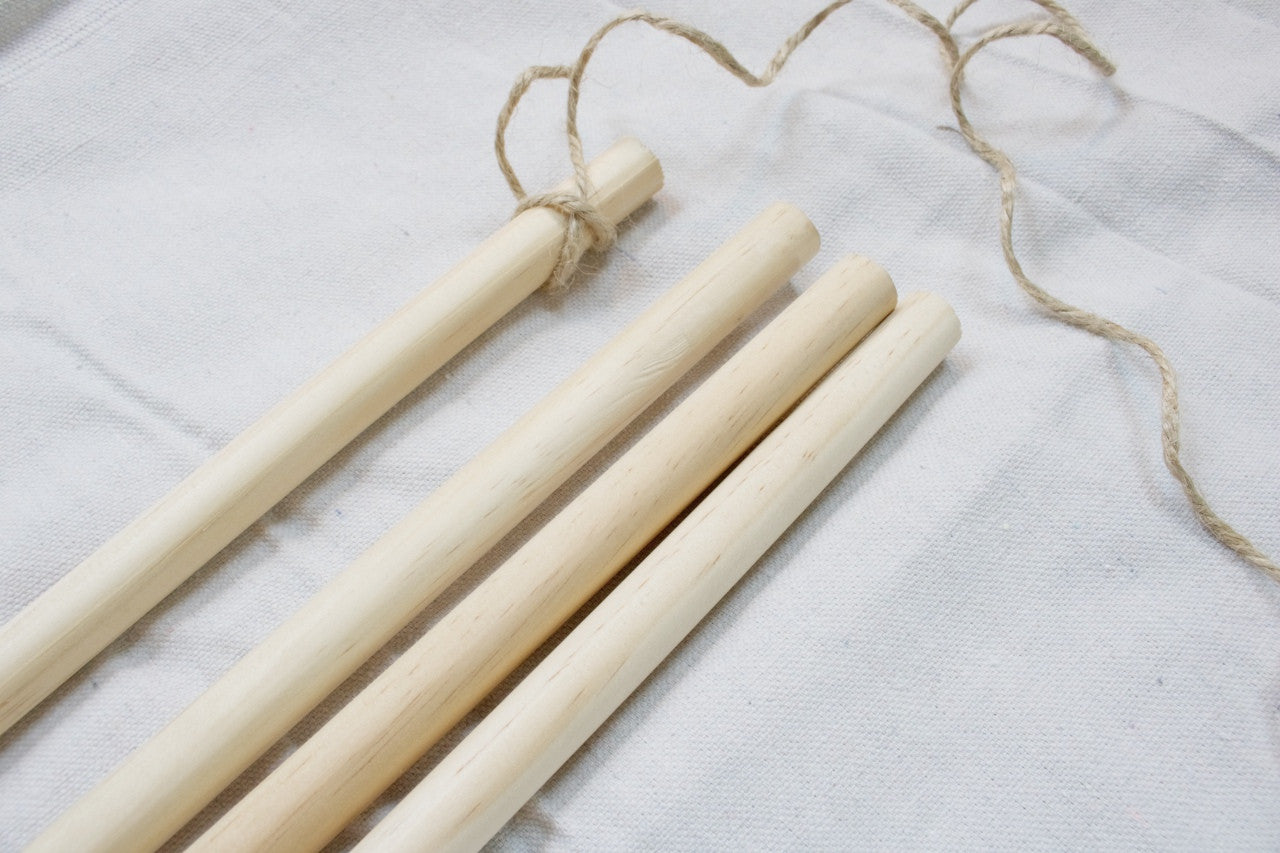
STEP 4:
Next, let’s work on tying the dowels. Lay all four dowels side by side on the floor as shown. On one of the outer dowels, create an “x” knot as shown and thread the loose end through the x to secure the twine.

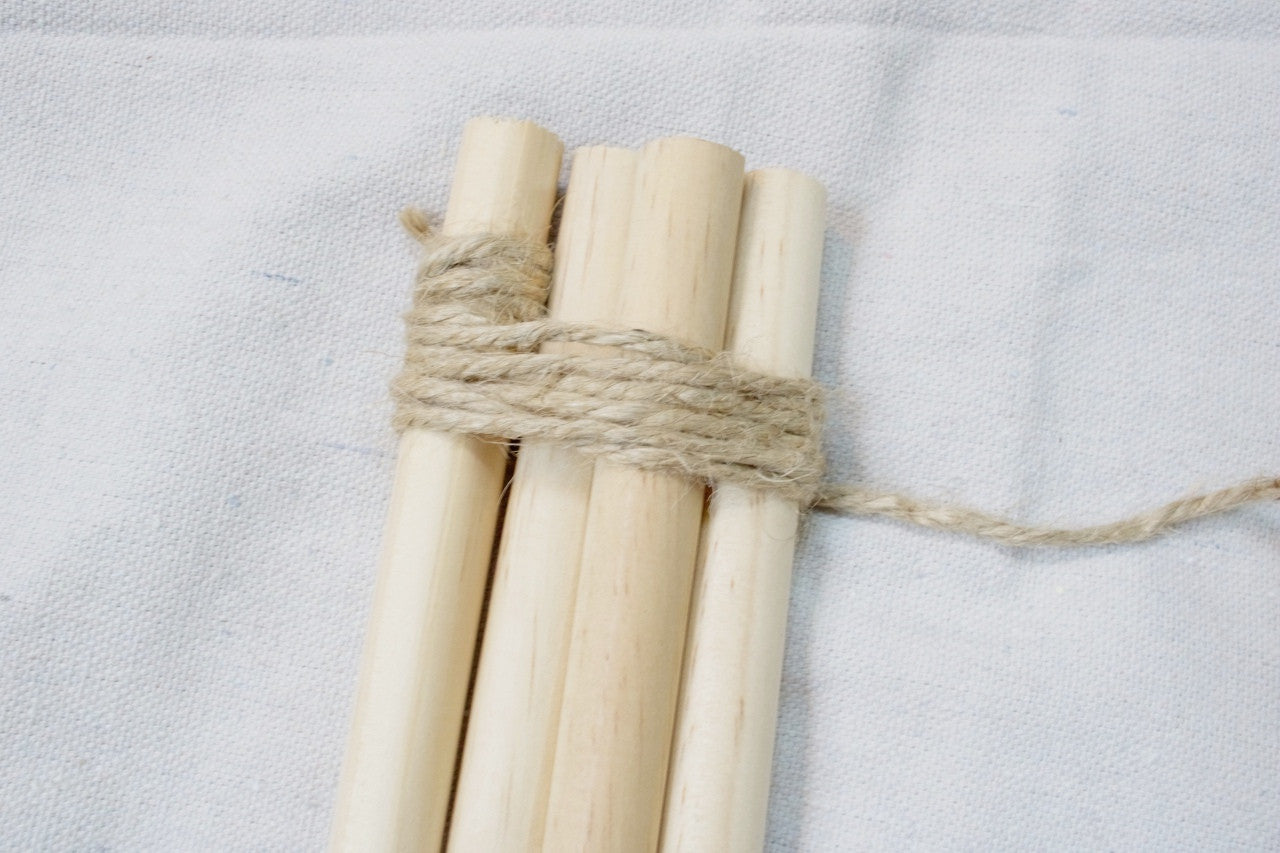
STEP 5:
Next, wrap the twine all the way around all 4 dowels about 4 or 5 times to secure them all together.
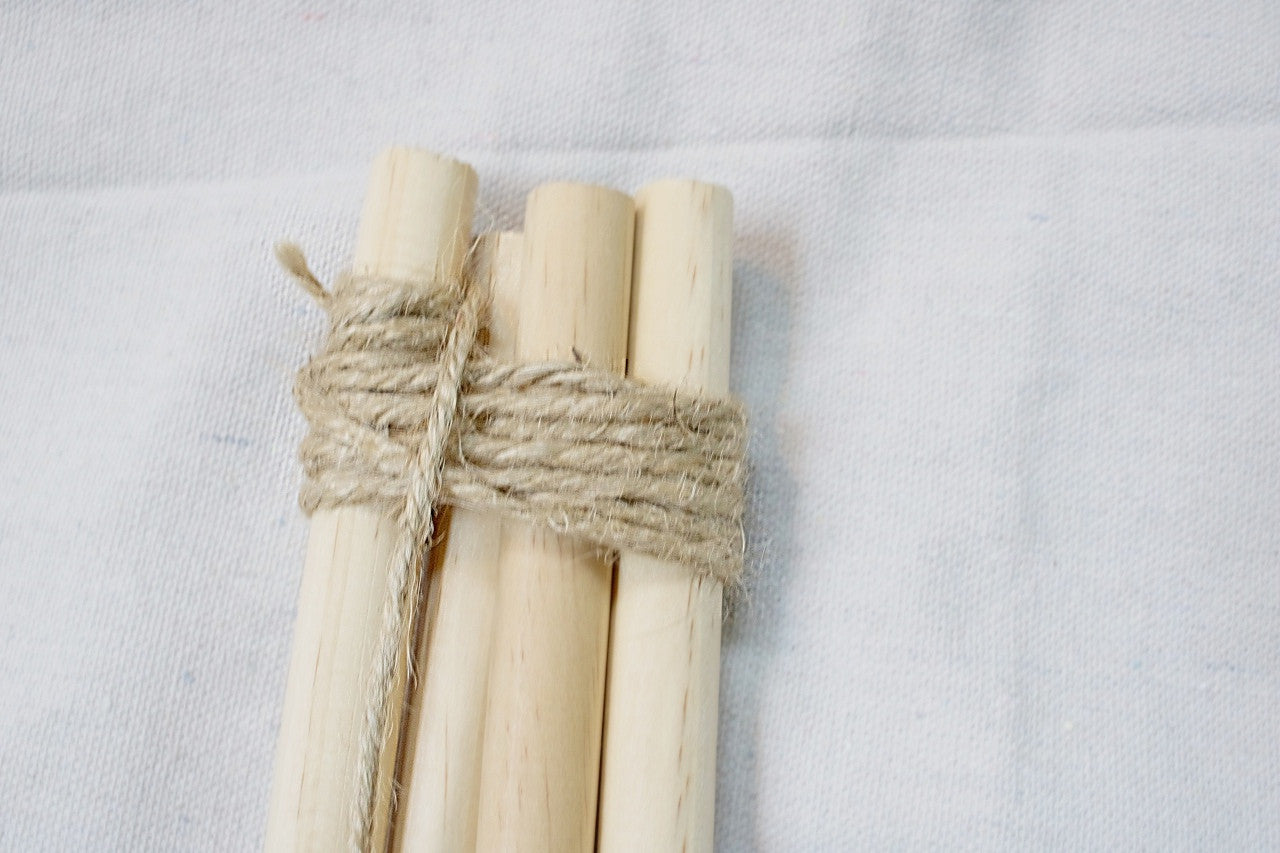
STEP 6:
Take the twine and go between each dowel as shown, wrapping it around about 2 to 3 times between each rod until you get to the end.
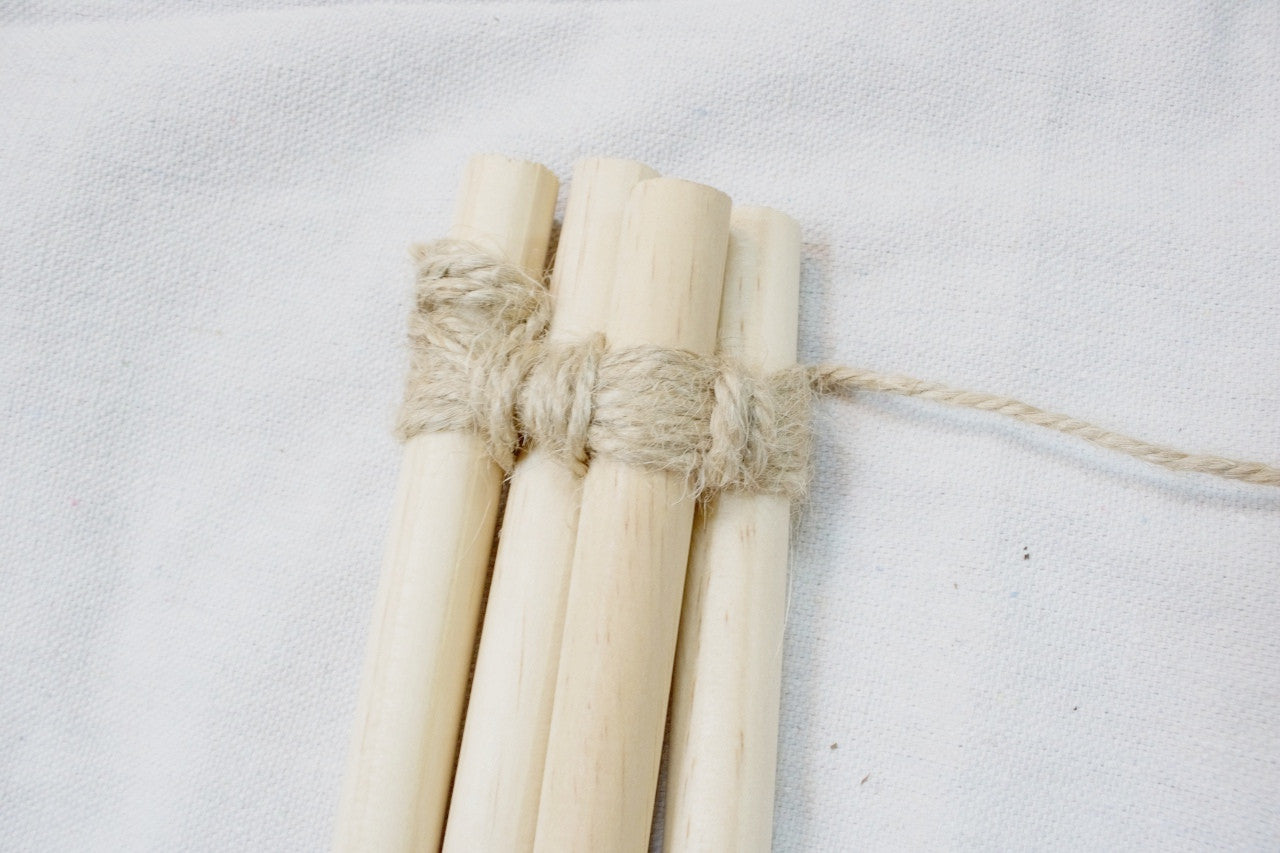
STEP 7: Once you get to the end, create another “x” knot as you did in step 4 and secure the twine. Stand up the teepee, sit back and marvel at your knot tying skills!
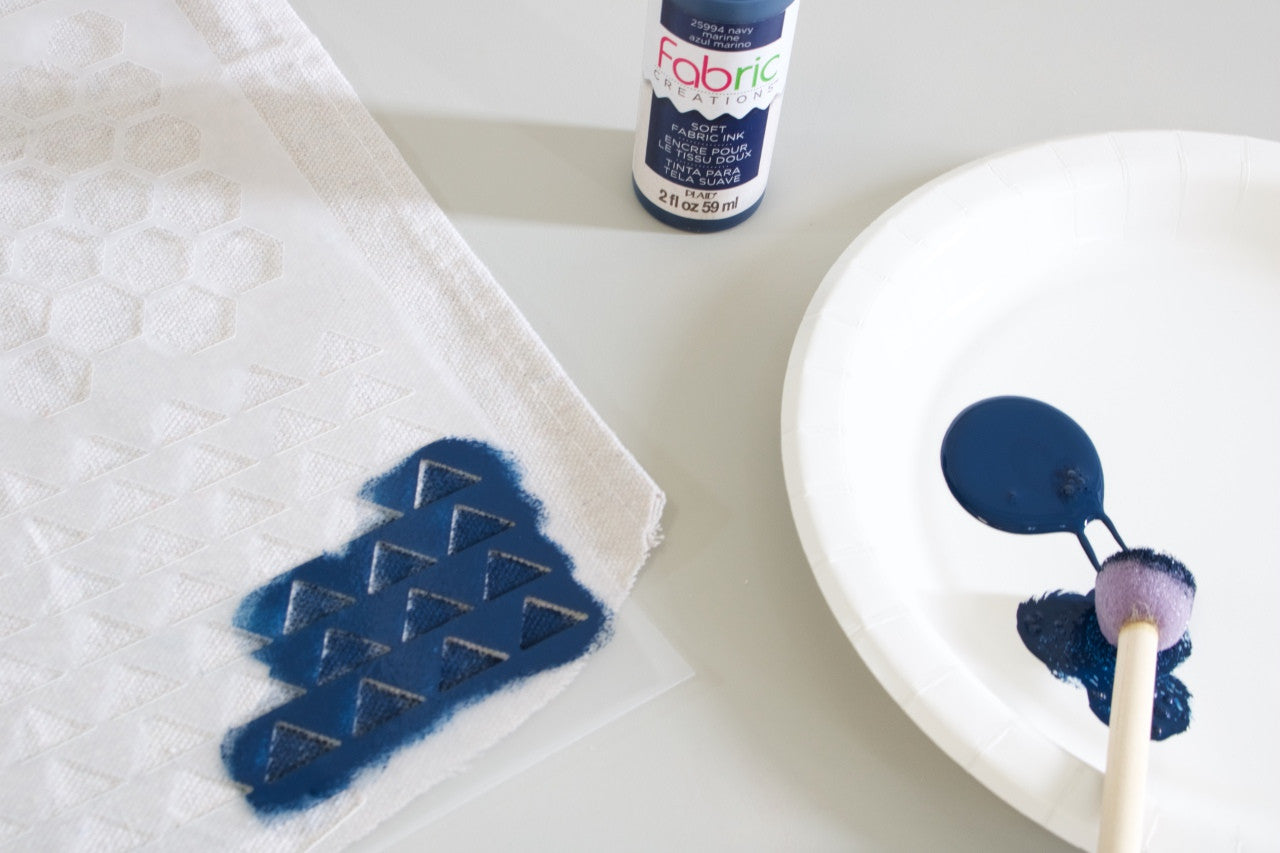
STEP 8: Now, let’s go back to the canvas and add some color! Using the fabric creations navy paint, stencil a design of your choice (I chose triangles) onto the teepee. I used fabric creations paint because I don’t like that “crunchy” feeling that classic acrylic paint leaves and this paint feels soft like it’s part of the fabric!
STEP 9: Position your drop cloth on your dowels and secure it with a bobby pin or wooden clip. You can play with it a bit and add embellishments like I did! I added a few strings of pom poms and a “W” for my pup Winston! I must say, he loves his new little teepee! I got the pom pom strands at target in the one spot bin and the wooden “W” in the gift section for just $1 as well!
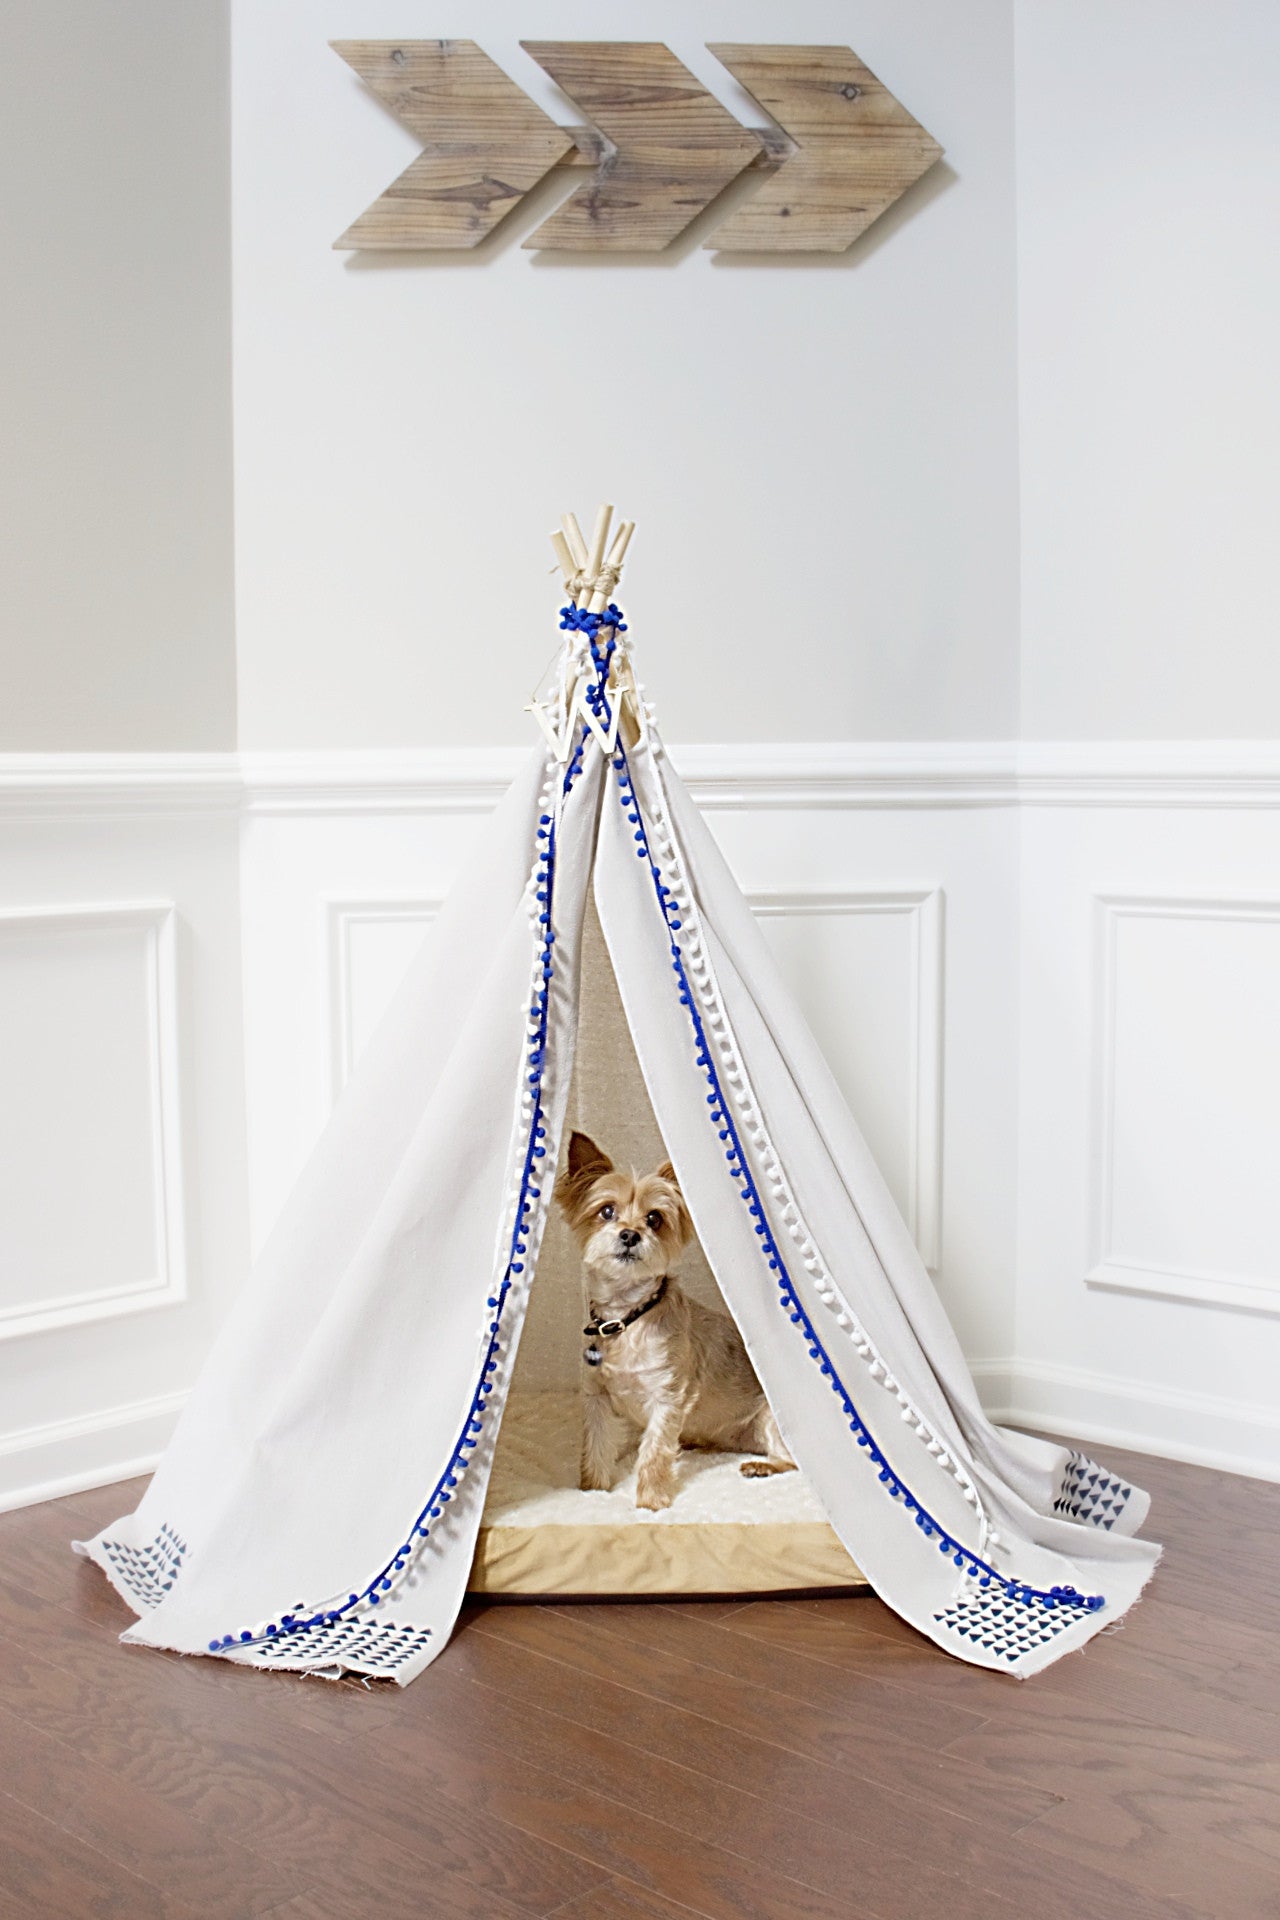
I hope you enjoyed learning how to create a teepee for your fur baby for under $30! Feel free to share with a friend who needs a teepee on a budget!
Want more inspiration that speaks to you? Visit my personal blog at www.madesoulful.com and follow me on my social channels @madesoulful!
Much love,
Anna