This post is in collaboration with the DIYZ® app. All opinions of apps and companies that help me complete DIY Projects are my own.
Our team at Craft Box Girls has been using the DIYZ app for project inspiration and help with home improvement projects. We love the DIYZ app because if you have any questions or need advice when you are building a project, you can chat with a licensed contractor without leaving the app. With the tap of a finger, you can get answers via phone or video-chat. We are excited to collaborate with them to create new and simple projects that inspire our audience.
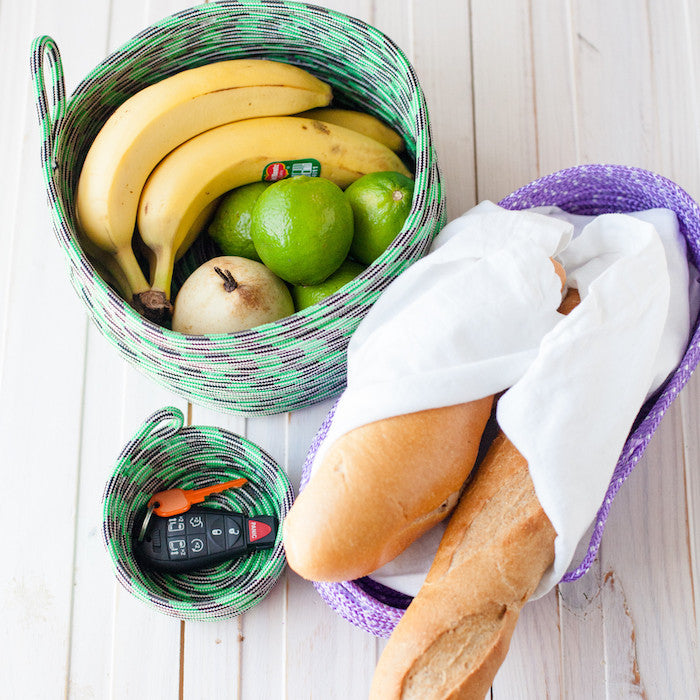
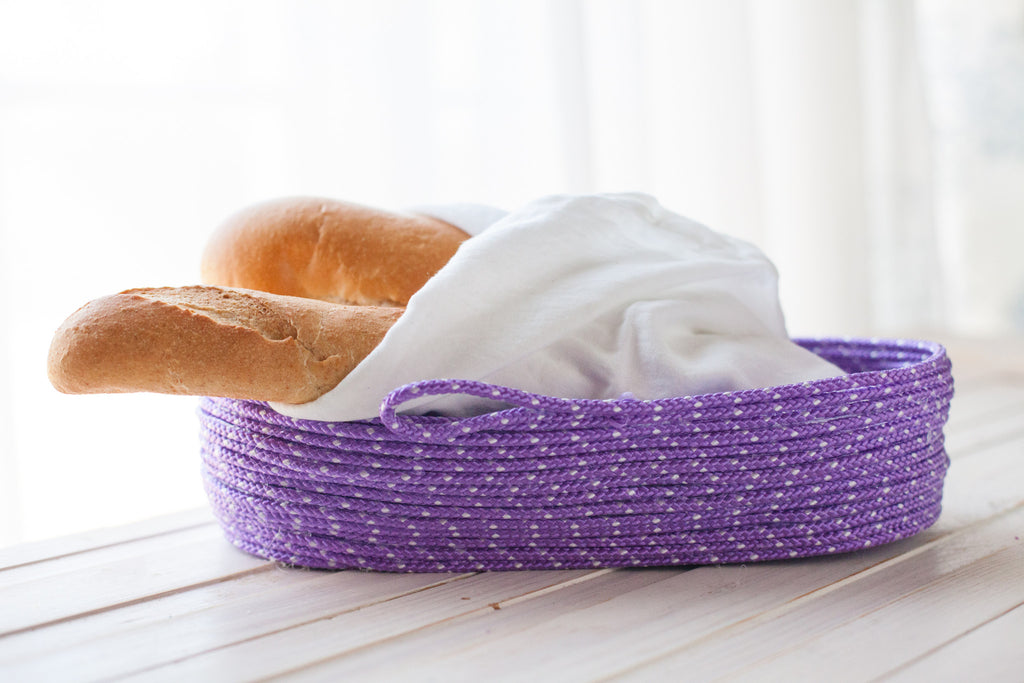
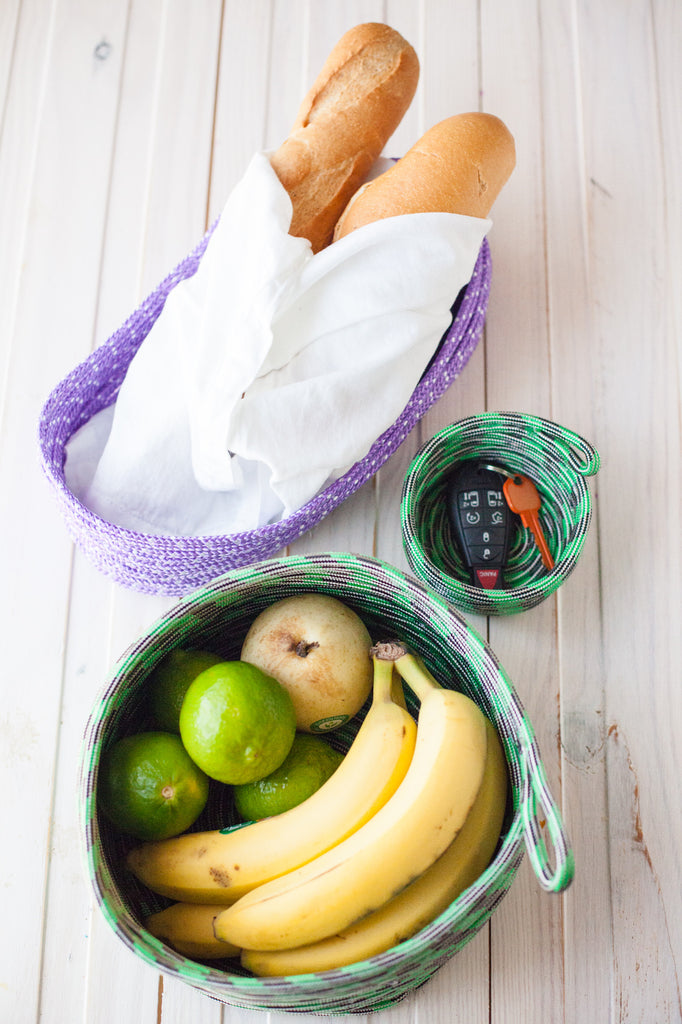
As I was organizing for spring, I noticed I had a lot of rope scattered in drawers and decided to create DIY rope baskets that would add a pop of color to my kitchen and function as additional storage. I hope you enjoy my tutorial for this simple DIY rope basket!
Time to start creating your very own DIY rope basket!
Project Time: 30 minutes
Difficulty Level: Beginner
Materials:
- 50 Feet of Rope
- Hot Glue Sticks
- Hot Glue Gun
- Scissors
- Tape Measure
Directions:
- To determine the natural bend in the rope, lay rope on a flat surface.
- Measure 6-inches of rope and then fold.
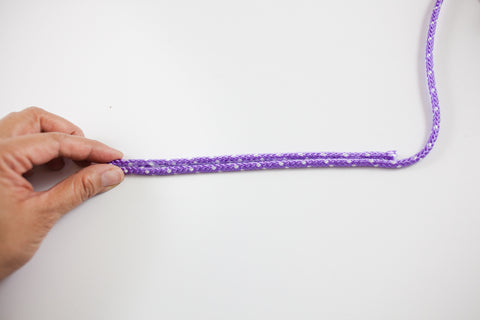
- Secure the folded section with the hot glue gun.
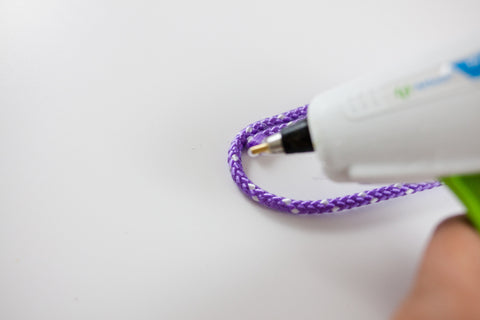
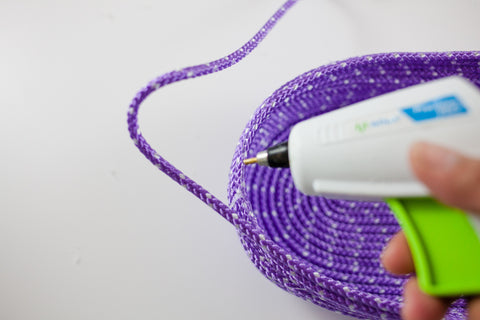
- Wrap the rope around the beginning spiral 15 times to create the base of the basket. Use the hot glue gun to glue each rotation together, keeping the base flat.

- To build the rotation upward, apply hot glue on top of each layer of rope instead of the side.
- Continue to build the basket upward until you get the desired height.
- Next, cut the end of the rope leaving an 8-inch tail.
- If the rope has a foam filling pull out 2 inches of the filling and cut it off. If the rope does not have a foam filling you can ignore this extra step.
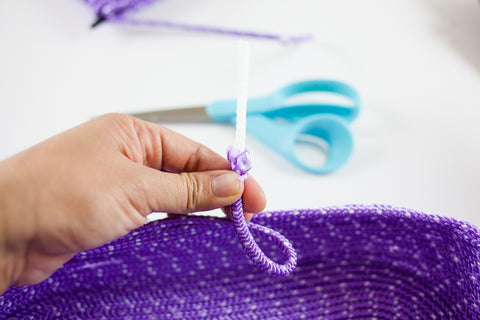
- Fold the 8-inch tail in half forming a loop.
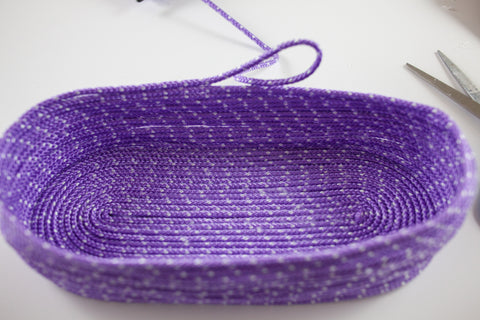
- Glue the end of the loop to the top of the basket.
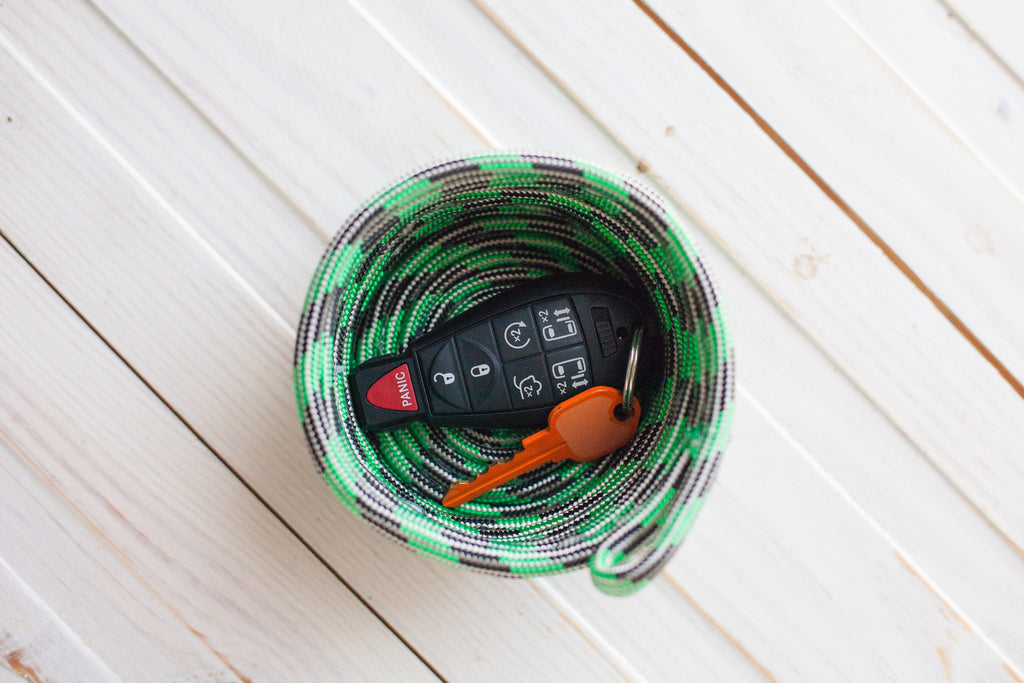
- Fill your DIY rope basket with anything! Bread, fruit or just use it to hold your keys!


Note: If you want to create round DIY rope basket form a circular base and then follow steps 4-11.
Enjoy your DIY rope basket and don’t forget to check out the DIYZ app for more project inspiration and step-by-step home improvement tutorials. The app is available from the Apple App Store for iPhone or Google Play for Android and includes lots more project ideas!
-Chan
Connect with DIYZ: Facebook | Instagram | Twitter | Pinterest | Blog | #DIYZ #GetWise