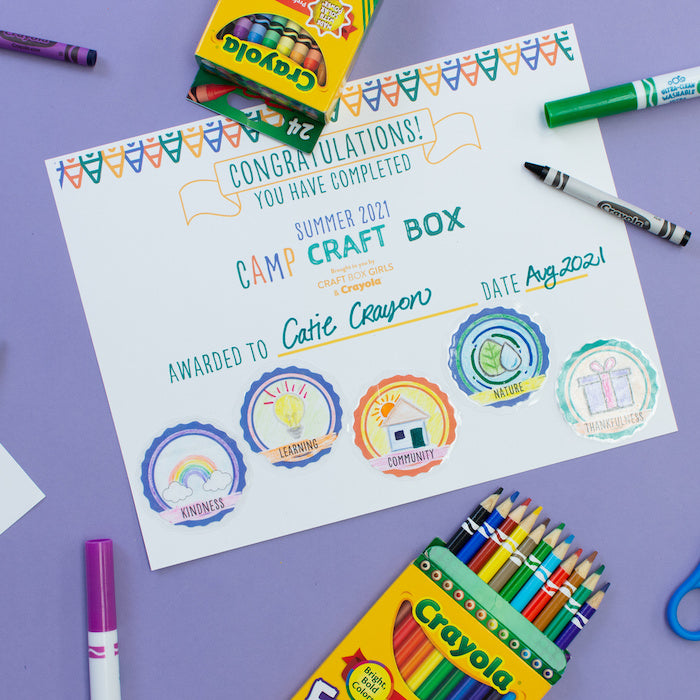
Hi, Campers! You can earn badges by completing camp challenges throughout the summer. Once you earn your badge, you can create them into a stick and add it to your certificate. You’ll need your parents or caretaker’s help to help you keep track of completing your challenges. Here’s what you’ll need for this project:
Project Difficulty: Beginner
Materials:
- Washable Markers
- Erasable Colored Pencil
- Crayons
- Scissors
Additional Materials:
- Wax Paper
- Clear Packing, Scotch Tape or Self Adhesive Laminating Sheet
You can sign up to have your camp certificate and badges mailed to you with the supplies for this project or you can print the template and do it yourself. You can also download and print the camp certificate HERE.
If you signed up by July 19 you will be receiving a kit that includes all the supplies needed for the stickers and a personalized certificate for your child.

Directions:
- Print out the template for the badges. Carefully cut out the badges.

- Color the badges as you’d like.

- Cut a piece of wax paper to fit your badges on. Tape a layer of clear tape on the wax paper. Make sure you have enough to cover one side of the badges.

- Place the badge on wax paper and tape layers.

- Place the tape over the badge, completely covering it.

- Cut a border around the badge. It must be cut bigger than the badge.

- Print and fill out your certificate.

- Attach the badges to your certificate by removing the wax backing of your sticker badge. You can do this as you complete each challenge or all at once.

We hope you enjoyed this Camp Craft Box project! Parents, share your child’s craft on the Camp Craft Box Facebook Group. Don’t forget to tag @crayola and @craftboxgirls and use the hashtag #CampCraftBox if you share your child's projects on social media.