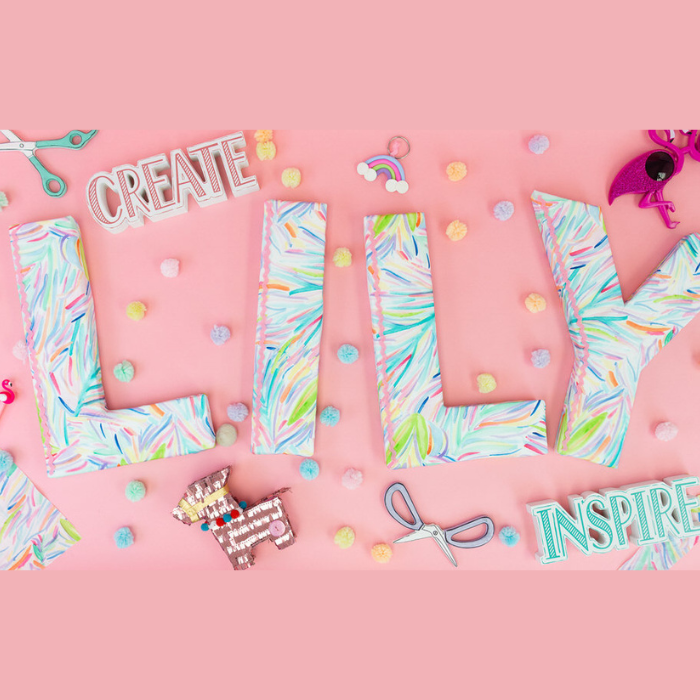
We are gearing up for Lily's new bedroom. I wanted to give her an updated name sign from her nursery and I thought it would be even more special with a fabric I designed.
Project Video:
Project Materials:
- Fabric
- Styrofoam letters
- E6000+
- Scissors
- Trim
Project Instructions:
- Place your fabric upside down. Place the styrofoam letter on top (backwards so that when you flip over it reads the right way).

- Trim the fabric leaving excess around all edges of your styrofoam letter.

- Glue the edges of the fabric around the letter using the E6000+.

- Flip your styrofoam letter over and add trim using your E6000+.


- Repeat this process with all of your styrofoam letters.

Stay tuned to see this cute sign in Lily's new room! Happy Crafting!
This post is sponsored by Eclectic but all thoughts and opinions are my own!
xoxo - Lynn


