Summer is winding down, school is back in session and those Summer travel memories seem like they are miles away. I traveled a lot this Summer for work with a little for pleasure. My big babymoon is coming up next week... stay tuned for the Bermuda fun! Ok, back to memories, these three projects are really fun for the whole family! I hope you enjoy them!
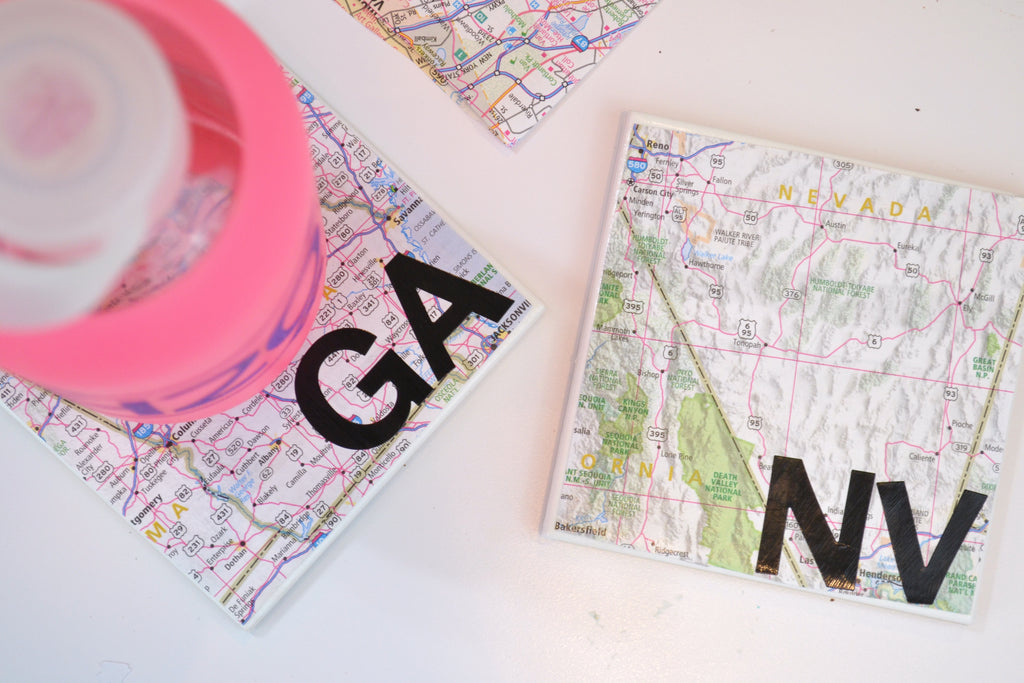
Map Coasters
Did you snag a few maps or travel guides on your last vacation? Turn them into coasters!
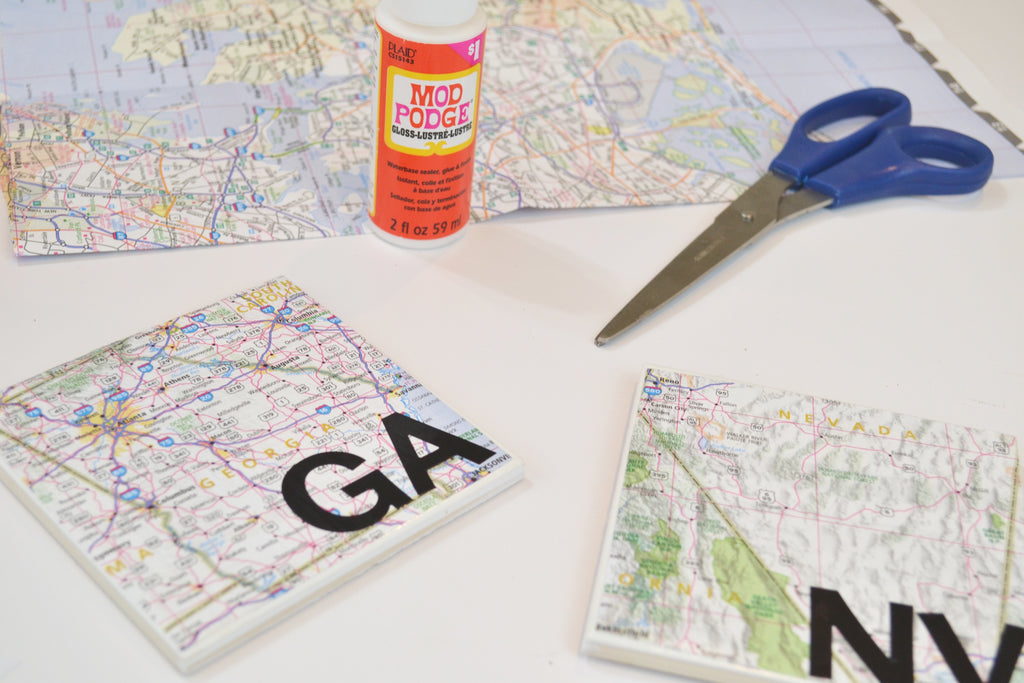
Materials:
- Square subway tile ($.16 at the hardware store)
- Map or travel guide
- Mod Podge & brush
- Letter stickers
- Scissors
- Hot glue gun and glue
Directions:
- Place the subway tile on the map and trace.
- Cut out the square you traced.
- Apply a coat of Mod Podge to the subway tile.
- Add the state abbreviation with stickers to the corner of the map cut out.
- Place the map cut out on the subway tile. Use your finger to smooth out bubbles.
- Brush a light coat of Mod Podge on top of the map and let it dry.
- Flip the tile over and make dots of hot glue in each corner of the tile to create stoppers to protect your surface from scratches. Let the glue harden before flipping over.
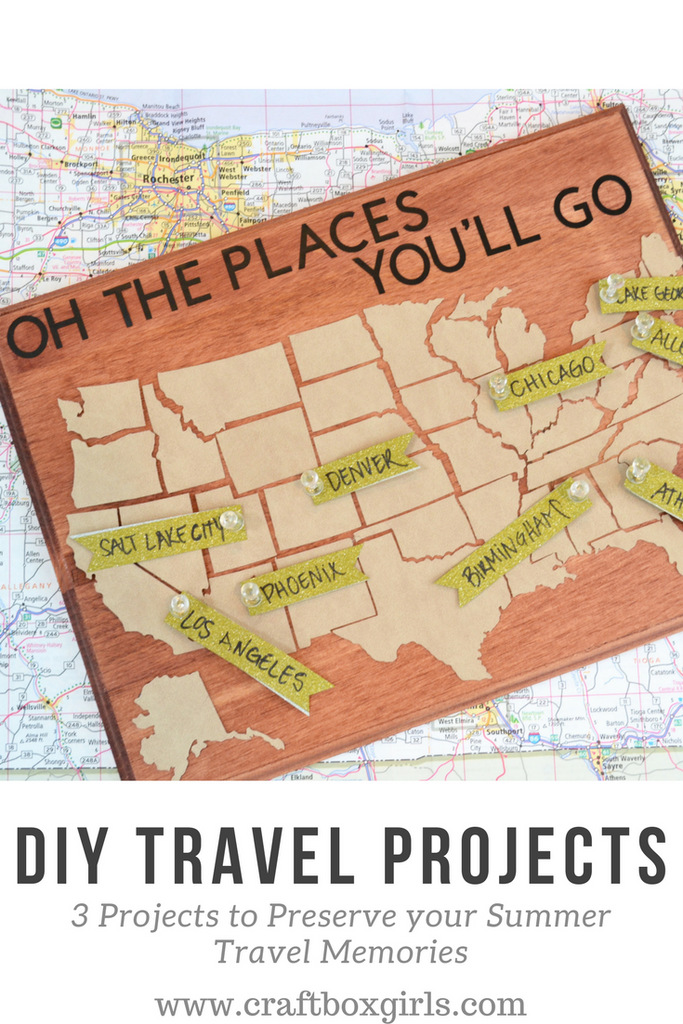
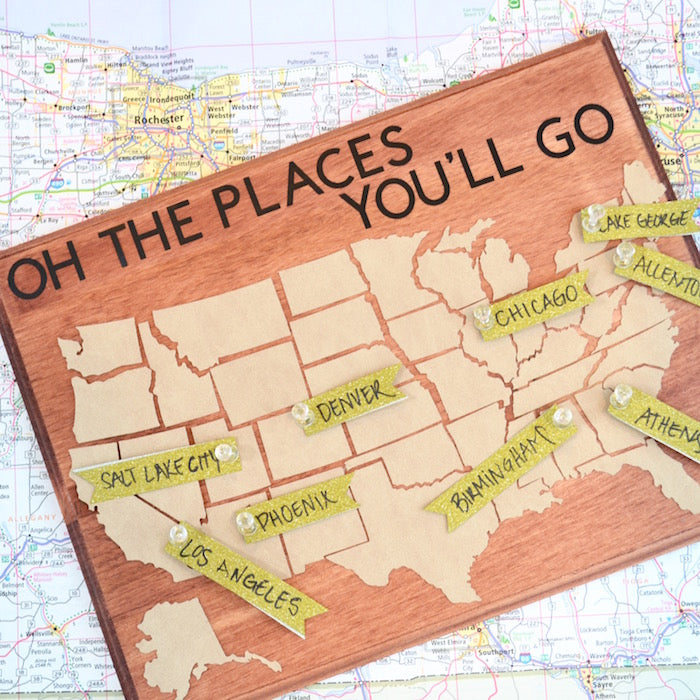
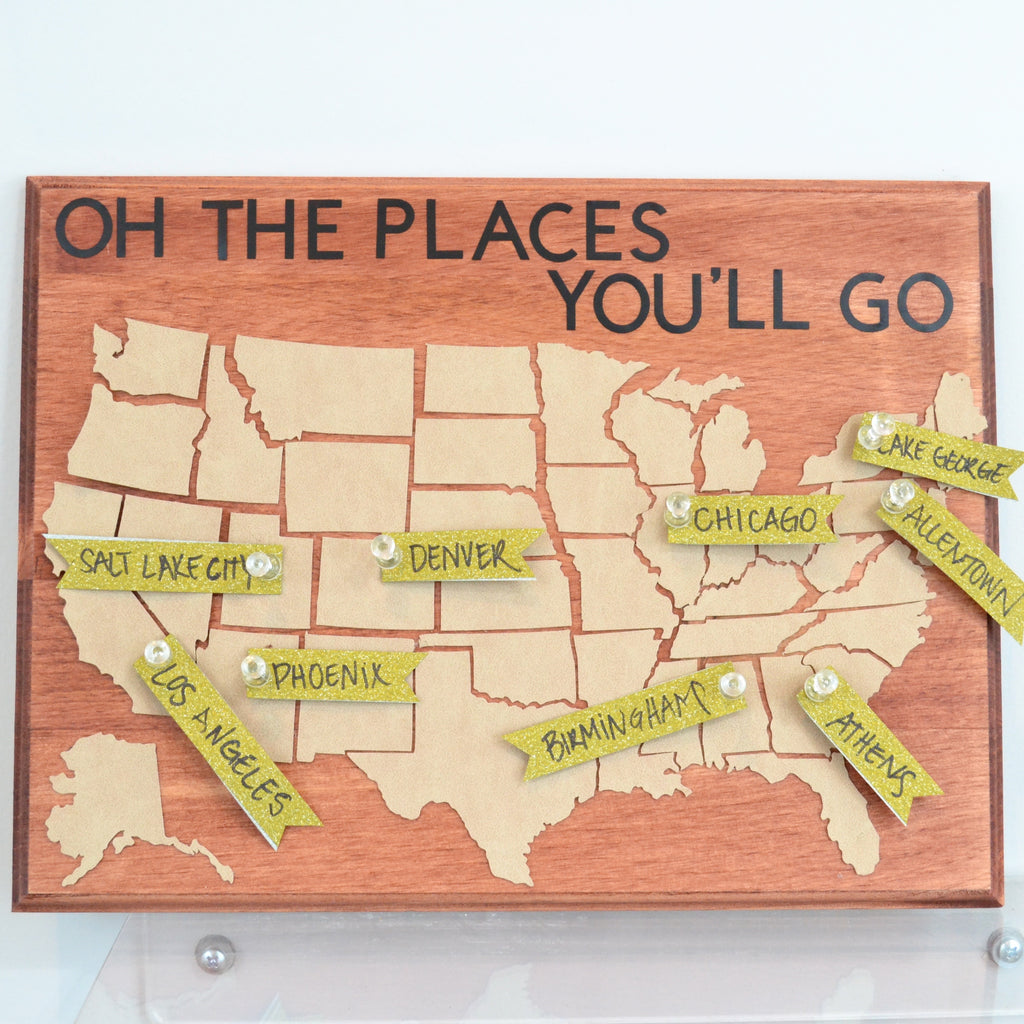
Oh the Places You'll Go Map Wall Hanger
If you are like me and travel a lot for work, pleasure or both and sometimes lose track of all the places you have been, and don't have time to print pictures, this wall hanger is perfect to keep track of your travels! In the last three months, I was fortunate enough to go NY City, Lake George, Allentown, Chicago (2x), Birmingham, Athens (GA), Pheonix, Denver, Los Angeles and Salt Lake City!
I used my Cricut Explore Air 2 to cut the map out of faux suede. If you don't have a Cricut, it is a DIY must! It cuts paper, vinyl, faux leather/suede, card stock, iron on and more! If you have been following us on social you knowI attended a big Cricut event in Salt Lake City earlier this month to reveal that they are launching a brand new machine, Cricut Maker, which cuts hundreds of materials including FABRIC, wood and more! The Cricut Maker goes on sale August 20 and we will be making an announcement on our facebook with more information!
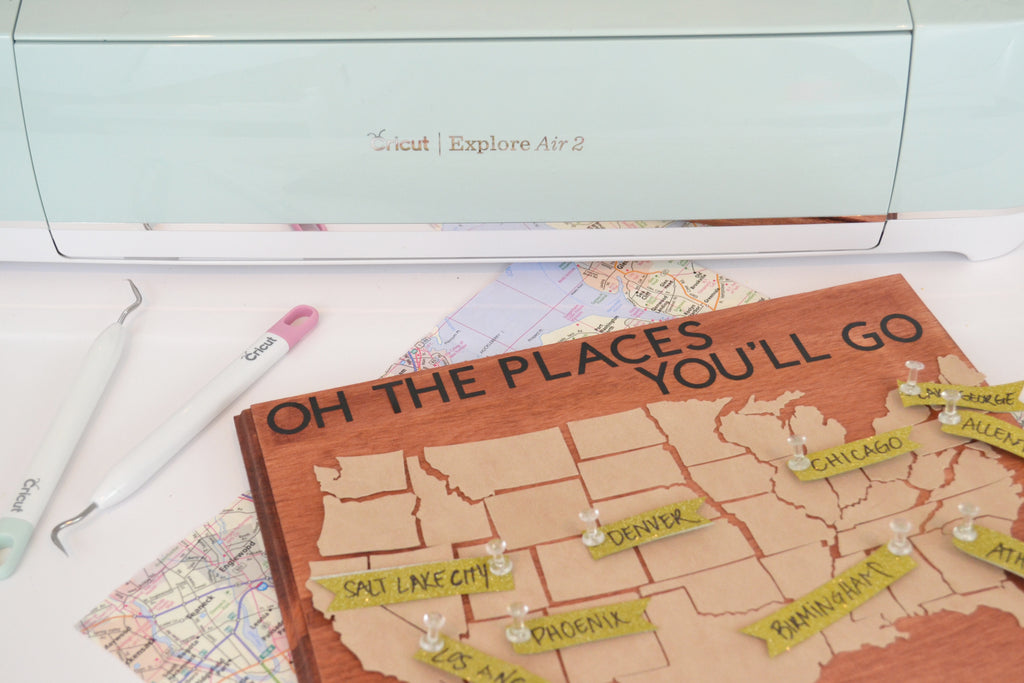
*If you do not have a Cricut you can print and cut a map of the US by hand.
Materials:
- Cricut Faux Suede or Leather (if you are using a Cricut)
- Letter Stickers (or cut them out of adhesive vinyl on your Cricut)
- Washi Tape & Marker
- Push Pins
- Leather Glue
- Wooden Plaque
Directions:
- Paint or stain your wooden plaque and let it dry.
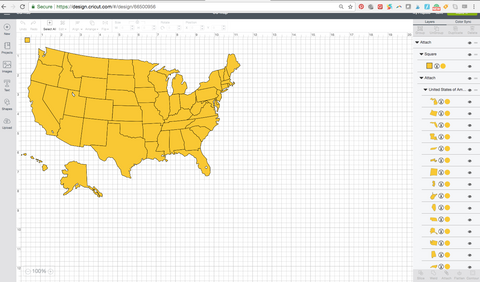
- Design your map in Cricut Design Space. When you go to cut, turn your knob to custom materials and on your computer in design space select faux suede as the material. Cut!
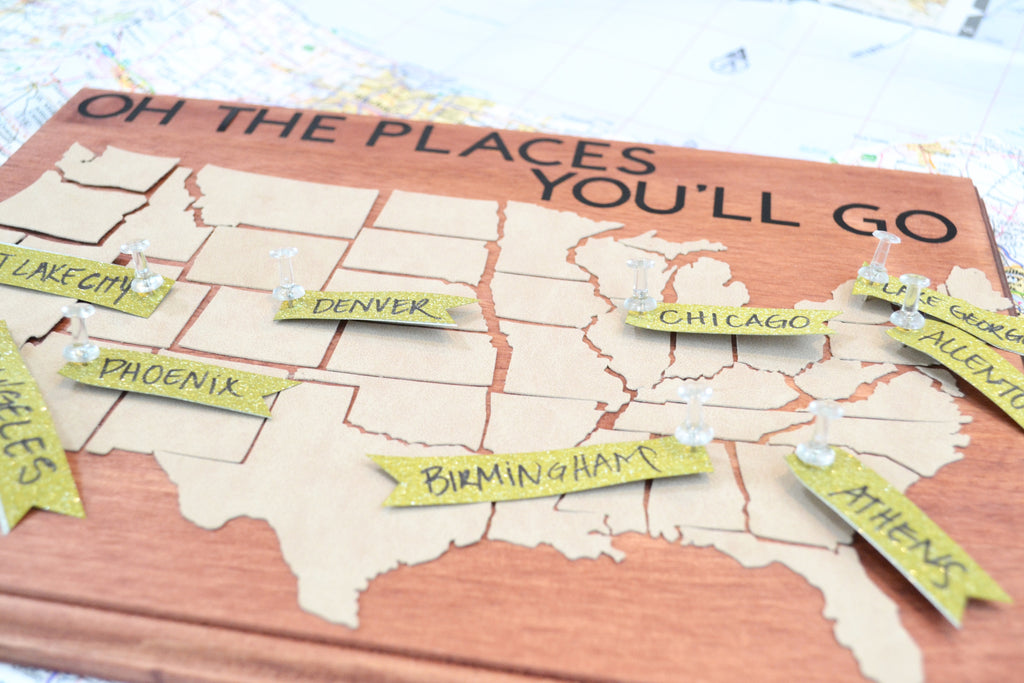
- Lay out the state pieces on the plaque and secure with leather glue and let them dry for 10-15 minutes.
- Apply your favorite saying with stickers. I personally like Dr. Seuss's quote, "Oh the Places You'll Go"
- Add push pins and washi tape tags to the places you have traveled this year.

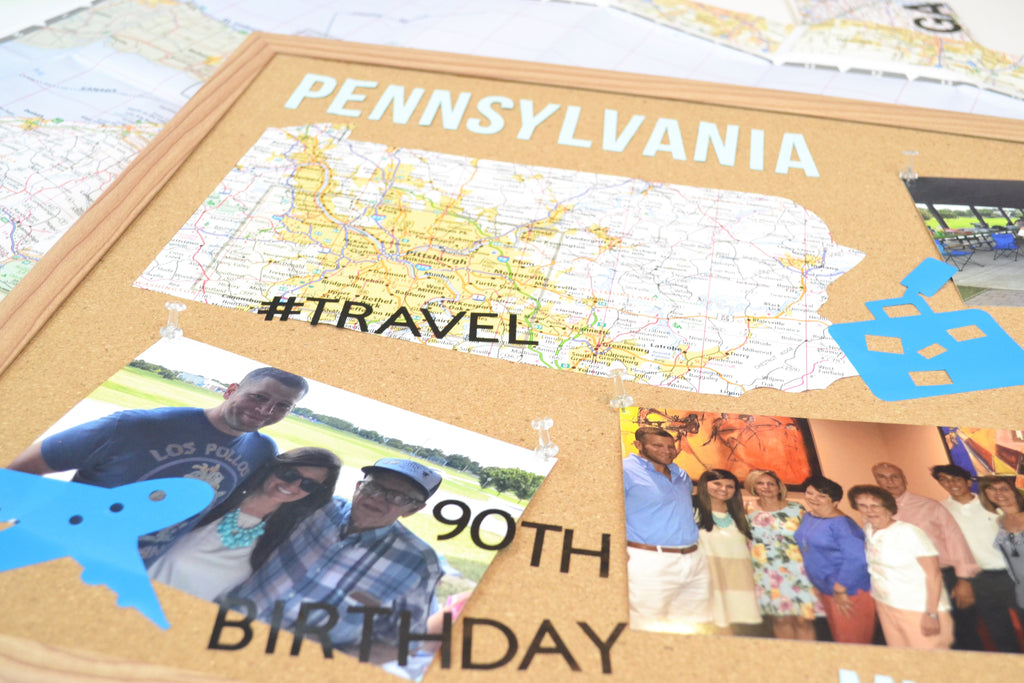
Travel Memories Cork Board:
Cork boards are old as time and are a great way to celebrate your Summer travels!
Materials:
- Print out of a state outline
- Map or travel guide
- Scrapbook stickers and words
- Photos
- Push Pins
- Spray Glue
- Cork Board
Directions:
- Trace the state cut out on your map or travel guide. Cut out and use spray glue to attach to the cork board.
- Add photos, travel themed stickers and decor to create your memory board!
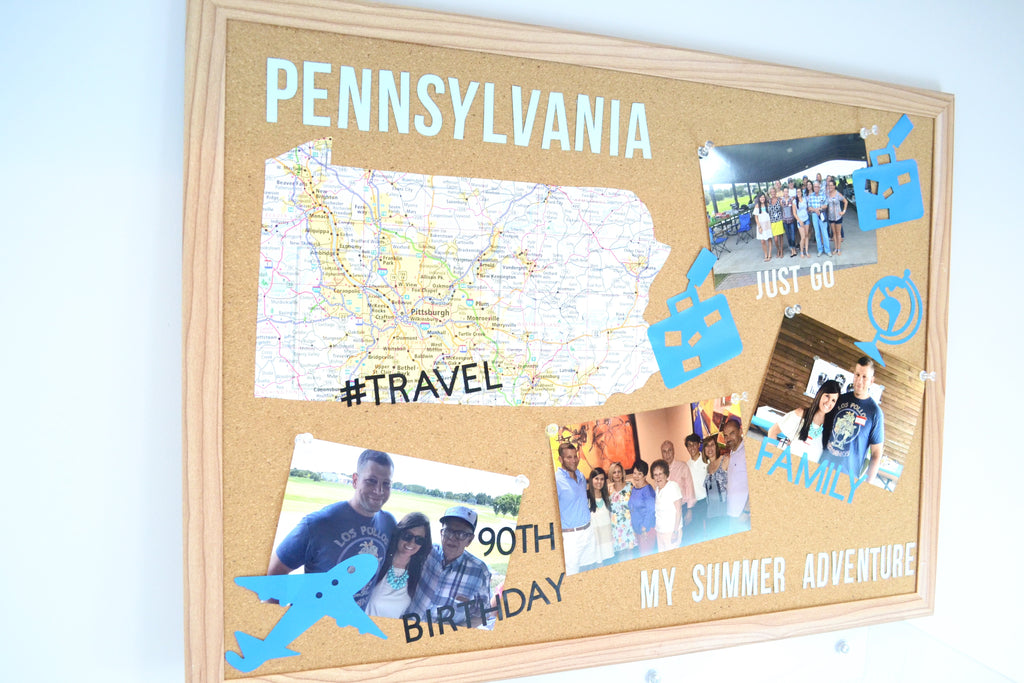
Enjoy celebrating your travel memories!
xoxo LL